Phone Photography Tips for Beginners: Master Your Shots
Unlock the potential of your smartphone camera with these essential photography tips for beginners. You don’t need expensive equipment to take breathtaking photos. Your phone is a powerful tool waiting to be mastered. This guide walks you through simple yet effective techniques for better composition, lighting, editing, and more, transforming your everyday snapshots into compelling visual stories.
Last updated: July 26, 2026
Latest Update (July 2026)
As of July 2026, smartphone camera technology continues its rapid advancement. New computational photography features, enhanced AI processing, and improved sensor technology are making it easier than ever for beginners to capture stunning images. Many flagship devices now offer advanced features like real-time HDR processing, improved low-light performance, and sophisticated portrait modes that rival dedicated cameras. The focus remains on making professional-level results accessible to everyone with a smartphone.
Recent industry reports indicate a growing trend in mobile-first content creation. Platforms like Instagram, TikTok, and YouTube are dominated by visuals captured on phones. This surge in demand for high-quality mobile content drives further innovation in smartphone camera hardware and software. Experts recommend that beginner photographers continuously explore their device’s capabilities and experiment with new techniques to stay ahead.
According to DxOMark’s latest mobile camera evaluations as of mid-2026, top-tier smartphones are achieving unprecedented scores in detail, color accuracy, and dynamic range. These advancements mean that the limitations once associated with phone photography are rapidly diminishing. Users can now achieve professional-looking results with minimal effort, though a solid understanding of fundamental photography principles remains key to truly mastering the craft.
Table of Contents
- Mastering Composition: The Rule of Thirds and Beyond
- Using Light: Your Most Important Tool
- Focus and Exposure: Getting It Right
- Editing Essentials: Polishing Your Shots
- Experimenting with Angles and Perspectives
- Essential Apps for Mobile Photography
- Frequently Asked Questions
Mastering Composition: The Rule of Thirds and Beyond
Composition is king in photography, and it’s surprisingly accessible for phone users. The foundational principle for many is the Rule of Thirds. Imagine your screen divided into nine equal sections by two horizontal and two vertical lines.
Placing key elements along these lines or at their intersections often creates a more balanced and visually appealing image. Most smartphone camera apps offer a grid overlay feature; enabling this is a simple yet highly effective way to practice this technique.
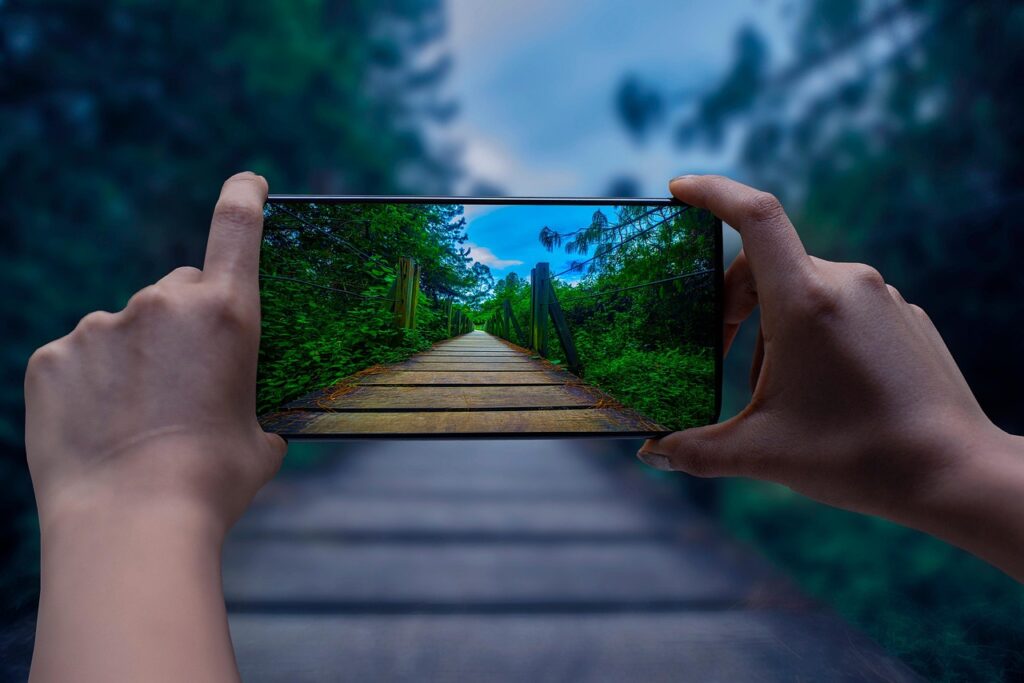
But don’t stop there! Explore other compositional guides like leading lines. These are natural lines within the scene, such as roads, fences, or rivers, that guide the viewer’s eye towards the subject. Symmetry can create a powerful sense of order and harmony in your images.
Framing subjects using elements within the scene, like doorways, windows, or tree branches, adds depth and context. This technique creates a sense of looking through something, drawing the viewer into the image. Experimentation is key to developing your compositional eye.
Using Light: Your Most Important Tool
Light is fundamental to photography, and understanding how to use it effectively with your phone is key. Natural light is often your best friend. Soft, diffused light is incredibly flattering.
This type of light is found on a slightly overcast day or during the ‘golden hours’—shortly after sunrise and before sunset. Avoid harsh midday sun, which can create unflattering, deep shadows and blown-out highlights.
When shooting indoors, position your subject near a window to take advantage of natural light. This provides soft, directional illumination that can create beautiful portraits and still lifes. If you must use your phone’s flash, try to diffuse it. Placing a thin piece of tissue paper or a translucent filter over the flash softens the harsh light.
This prevents that unnatural, blown-out look common in flash photography. Experiment with shooting towards the light source (backlighting) to create dramatic silhouettes or rim lighting effects. Be mindful of your exposure settings to avoid losing all detail in the shadows or highlights.
Side lighting can create dramatic shadows and texture, revealing the form and contours of your subject. Front lighting is more even but can sometimes result in a flatter image lacking dimension. Understanding the direction and quality of light will dramatically improve your images.
Focus and Exposure: Getting It Right
Modern smartphone cameras have advanced autofocus and auto-exposure systems, but you can take manual control. Most phone camera apps allow you to tap on the screen to set your focus point. This is vital for ensuring your intended subject is sharp and in clear focus.
Beyond focus, tapping and holding on your subject often brings up an exposure slider (usually indicated by a sun icon). Sliding this up or down allows you to adjust the brightness of your image before you take the shot. This is incredibly useful for compensating for bright or dark backgrounds.
For instance, if you’re shooting a person against a bright sky, you might need to slightly decrease the exposure to avoid washing them out. Conversely, if your subject is in shadow, you may need to increase exposure.
Important: Avoid using the digital zoom on your phone. It simply crops and enlarges the image, leading to a significant loss of quality and detail. If you need to get closer to your subject, physically move closer. Optical zoom, if your phone has it, is a much better option for magnification.
Editing Essentials: Polishing Your Shots
Editing is where your phone photos can truly shine. You don’t need complex desktop software. Many powerful mobile editing apps can transform your images with just a few taps.
Basic adjustments like cropping, straightening, brightness, contrast, and saturation can make a world of difference. These fundamental edits can enhance the overall impact and aesthetic of your photograph.
Start with simple adjustments. Increasing contrast can add ‘pop’ to a photo, making details stand out. Adjusting saturation can bring out colors, making them more vibrant, or you can desaturate for a moodier, monochromatic feel.
Sharpening can add detail and definition, but use it sparingly to avoid an artificial, over-processed look. Excessive sharpening can introduce artifacts and reduce the natural appearance of the image.
Many apps offer presets or filters, which can be a good starting point. However, always fine-tune them to your liking. Understanding the purpose of each adjustment is key:
| Adjustment | Effect | When to Use |
|---|---|---|
| Brightness | Overall lightness or darkness | Correcting underexposed or overexposed shots |
| Contrast | Difference between light and dark areas | Adding depth and ‘pop’ to flat images |
| Saturation | Intensity of colors | Making colors more vibrant, or desaturating for a mood |
| Sharpness | Detail and edge definition | Bringing out texture; use sparingly |
| White Balance | Color temperature (warm/cool) | Correcting color casts from different light sources |
Experimenting with Angles and Perspectives
Don’t just shoot from eye level. Getting down low or finding a higher vantage point can dramatically change the feel of your photo. Experimentation with different viewpoints is essential.
Shooting from a low angle can make your subject appear larger and more imposing. This can add a sense of grandeur or power to your images. A high angle, conversely, can give a sense of overview or make subjects look smaller and more vulnerable.
Try walking around your subject. Sometimes the best shot isn’t the most obvious one. Look for interesting patterns, textures, or reflections that you might miss if you stick to one spot. This kind of exploration is key to developing your photographic eye.
Consider the context of your subject. Are you shooting a building? Try finding a unique perspective from a nearby street or elevated position. Photographing people? Move around them, get closer, or step back to see how the background changes.
As of July 2026, many users are also utilizing advanced camera features like ultrawide lenses and macro modes to explore unique perspectives. The ultrawide lens is perfect for expansive landscapes or fitting more into a tight space, while macro modes allow for extreme close-ups of small details.
Essential Apps for Mobile Photography
Beyond your phone’s native camera app, a wealth of third-party applications can enhance your mobile photography workflow. These apps offer advanced controls, editing capabilities, and creative tools.
For shooting, apps like Halide or ProCamera give users manual control over focus, exposure, ISO, and shutter speed, similar to a DSLR camera. This level of control is invaluable for advanced users seeking precise results.
For editing, Adobe Lightroom Mobile offers powerful professional-grade tools for color correction, retouching, and RAW file editing. Snapseed, a free app from Google, provides a comprehensive suite of editing features, including selective adjustments and healing tools.
VSCO is popular for its film-like filters and community aspect, allowing users to share their edited photos. For more creative edits and collages, apps like Picsart or Canva offer extensive options. Exploring these apps can significantly expand your creative possibilities.
Frequently Asked Questions
What is the best time of day for phone photography?
The best times are typically during the ‘golden hours’—shortly after sunrise and before sunset. The light is soft, warm, and directional, creating flattering tones and reducing harsh shadows. Overcast days also provide excellent diffused light.
How can I improve my phone’s low-light photography?
Use your phone’s night mode if available. Keep the phone as still as possible, using a tripod or stable surface. Maximize natural light by shooting near windows or light sources. Some editing apps also offer tools to enhance low-light images.
Should I use filters when editing my photos?
Filters can be a good starting point, but it’s best to use them as a base. Always fine-tune filter settings or make manual adjustments to achieve a look that suits your photo and personal style. Over-reliance on filters can make images look generic.
What is computational photography?
Computational photography uses software algorithms and AI to enhance images beyond what traditional camera hardware can achieve. This includes features like HDR processing, portrait mode effects, and advanced low-light enhancement, common in modern smartphones.
How important is the camera sensor size in a smartphone?
Sensor size is significant as it impacts light-gathering capability, dynamic range, and low-light performance. Larger sensors generally produce better image quality, especially in challenging lighting conditions. However, software processing plays an equally vital role in image quality.
Conclusion
Mastering phone photography in 2026 is more accessible than ever. By understanding fundamental principles like composition and lighting, and by utilizing the advanced features of modern smartphones and editing apps, any beginner can significantly elevate their photographic skills. Experimentation, practice, and a keen eye for detail are your greatest assets. Keep shooting, keep learning, and transform your smartphone into a powerful creative tool.