The fusion of compelling visuals with crystal-clear audio is no longer a luxury in content creation; it’s a fundamental requirement for engaging audiences. Whether you’re a budding filmmaker, a seasoned podcaster, or a business looking to enhance its marketing efforts, understanding the intricate dance between video & a (audio) is key to success. Neglecting either element can significantly diminish the impact and professionalism of your work, leading to lost viewers and missed opportunities.
In my 10 years of working in digital media production, I’ve seen firsthand how a well-balanced approach to video and audio can transform a project. Poor audio can make even the most stunning visuals unwatchable, while exceptional sound design can elevate a simple video into an immersive experience. This article will guide you through the critical aspects of video and audio production, from foundational principles to advanced techniques, ensuring your content resonates powerfully with your intended audience.
Table of Contents
Foundations of Video & Audio Synchronization
At its core, effective video and audio production relies on seamless synchronization. This means ensuring that the sound precisely matches the visuals, creating a believable and immersive experience for the viewer. The most common synchronization issue arises from the camera’s built-in microphone capturing audio that is slightly out of sync with the video feed, especially when using external cameras or multiple audio sources.
Professional workflows often involve using dedicated audio recorders and clap slates (or digital equivalents) to mark the start of a take. The sharp sound of the clap provides a clear visual and audio spike, making it easy for editors to align tracks in post-production. This meticulous attention to timing is what separates amateur content from professional productions.
Essential Gear for Quality Video & Audio
Investing in the right equipment is crucial for achieving high-quality video and audio. While professional setups can be expensive, there are excellent entry-level options available that significantly outperform built-in solutions.
For video, consider a camera with good low-light performance and manual control over settings like aperture, shutter speed, and ISO. Even a modern smartphone can produce excellent video if used correctly, particularly with external lenses and stabilization.
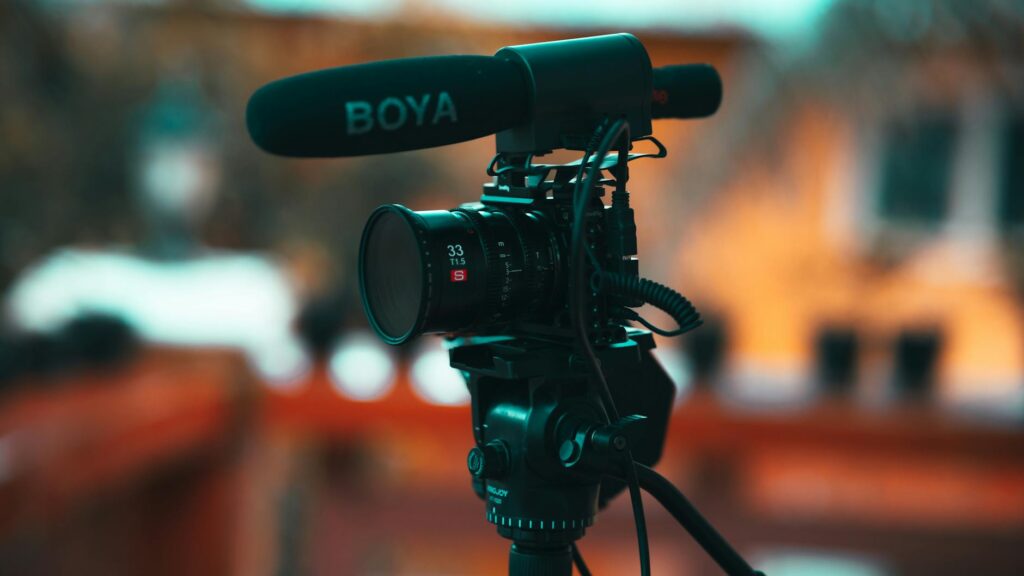
For audio, the microphone is paramount. Lavalier (lapel) microphones are great for dialogue, while shotgun microphones offer directional pickup, ideal for isolating sound sources. USB microphones are a convenient option for voiceovers and podcasting directly to a computer. Understanding microphone polar patterns (omnidirectional, cardioid, supercardioid) helps you choose the right mic for your environment and needs.
Choosing the Right Video & Audio Software
The software you use for editing and mixing is as important as your hardware. Fortunately, there’s a wide range of options catering to different skill levels and budgets.
For video editing, popular choices include Adobe Premiere Pro, Final Cut Pro (Mac only), DaVinci Resolve (which offers a powerful free version), and iMovie (for Apple devices). These tools allow you to cut footage, add transitions, color correct, and incorporate graphics.
For audio editing and mixing, Digital Audio Workstations (DAWs) like Audacity (free), Adobe Audition, Logic Pro X (Mac only), and Pro Tools are industry standards. They enable you to clean up audio, adjust levels, add effects, and mix multiple tracks. Many video editing suites also include robust audio editing capabilities.
Best Practices for Capturing Video & Audio
High-quality capture is the foundation of any successful video & audio project. Poorly captured source material is difficult, if not impossible, to fix in post-production.
When filming, pay close attention to lighting. Good lighting makes your video visually appealing and helps your camera capture clearer images, reducing noise. Natural light is often best, but professional lighting kits provide more control.
For audio, get your microphone as close to the sound source as possible without being in the frame or causing unwanted noise. Avoid recording in echoey or noisy environments. If you must record in a less-than-ideal space, consider acoustic treatment like blankets or foam panels.
A common mistake is relying solely on the camera’s built-in microphone. While convenient, these are often noisy and pick up unwanted background sounds. Using an external microphone, even a simple lavalier mic, will drastically improve your audio quality.
Editing Techniques for Enhanced Video & Audio
Post-production is where video and audio truly come together. This phase involves refining your raw footage and sound recordings into a polished final product.
In video editing, focus on pacing and flow. Cut out unnecessary pauses or rambling sections. Use B-roll footage (supplementary video clips) to illustrate points and keep the viewer engaged. Color grading can set the mood and enhance the visual appeal of your video.
For audio editing, the goal is clarity and impact. Remove background noise, clicks, and pops. Adjust volume levels so dialogue is consistently audible. Use compression to even out dynamic range and EQ to shape the tone of voices or music. Sound effects and background music can add depth and emotion, but use them judiciously so they don’t overpower the main audio.
According to a 2023 study by Nielsen, viewers are 3.5 times more likely to consider a video unprofessional if the audio quality is poor, regardless of the visual quality.
Addressing Common Video & Audio Issues
Even with the best practices, you might encounter common problems. Understanding how to fix them can save your project.
Audio Sync Issues: As mentioned, manual alignment using a clap or visual cue is the most reliable method. Most editing software has tools to help with this, such as waveform synchronization or manual offset adjustments.
Background Noise: Many audio editing tools offer noise reduction filters. You can also use EQ to cut out specific frequencies associated with hums or buzzes. Recording clean ambient tone is your best defense.
Poor Audio Levels: Ensure your audio levels are peaking around -12dB to -6dB during the loudest moments. This provides headroom for mastering and prevents clipping (distortion).
Video Lag or Choppiness: This can be due to an underpowered editing computer or complex video files. Try rendering sections of your video, using proxy files for smoother editing, or ensuring your video codecs are optimized for editing.
A counterintuitive insight is that sometimes, slightly lower video quality can be more forgivable than poor audio. People will tolerate a slightly grainy image if the sound is crisp, but they will often abandon a video with muffled or distorted audio, no matter how beautiful it looks. This highlights the critical role of audio in viewer retention.
Here’s a comparison of common microphone types:
| Microphone Type | Best For | Pros | Cons |
|---|---|---|---|
| Lavalier (Lapel) | Dialogue, Interviews | Discreet, consistent sound placement | Can pick up clothing rustle, limited range |
| Shotgun | Film dialogue, isolating sound | Highly directional, rejects off-axis noise | Requires careful aiming, can sound unnatural up close |
| Condenser (Large Diaphragm) | Studio vocals, instruments | Captures detail and nuance, wide frequency response | Sensitive to background noise, requires phantom power |
| Dynamic | Live vocals, loud instruments | Durable, handles high sound pressure levels | Less sensitive, may not capture subtle detail |
Frequently Asked Questions
What is the most important element in video & audio production?
The most important element is clear, well-synced audio paired with compelling visuals. While video captures attention, high-quality audio ensures retention and professionalism, making the viewer’s experience immersive and enjoyable.
How can I improve my video & audio quality on a budget?
Start by investing in an external microphone, even an affordable lavalier or USB mic, as this provides the biggest audio improvement. Utilize good natural lighting for video, and ensure your recording environment is as quiet as possible.
What is the difference between audio mixing and mastering?
Audio mixing is the process of combining individual tracks (like dialogue, music, sound effects) and adjusting their levels, EQ, and effects. Mastering is the final step, optimizing the overall sound for distribution across different platforms.
How do I ensure my video and audio stay in sync during editing?
Use a visual and audio cue like a clapboard at the start of a take. In your editing software, align the spike in the audio waveform with the visual of the clap. Most software also offers automatic synchronization features based on the audio captured by your camera.
What resolution and frame rate should I use for my videos?
For most online content, 1080p (Full HD) at 24 or 30 frames per second (fps) is standard. For higher quality or cinematic looks, consider 4K resolution. Higher frame rates like 60fps are great for slow-motion effects but result in larger file sizes.
Final Thoughts on Mastering Video & Audio
Achieving excellence in video & a production is an ongoing journey of learning and practice. By focusing on the foundational principles of synchronization, investing wisely in gear and software, and adhering to best practices during capture and editing, you can significantly elevate the quality and impact of your content. Remember that clarity, consistency, and creativity are your guiding stars.
Don’t let technical hurdles prevent you from sharing your stories or message. Start with the basics, be patient with the learning curve, and always prioritize the viewer’s experience. If you’re looking to further enhance your content creation skills, explore resources on visual storytelling and digital marketing to complement your video and audio expertise.